A Floor Worth Every Penny.

A copper penny floor is nostalgic and interactive. Can you find a penny made during the year you were born?
Or maybe you are the lucky one who will find the carefully hidden Canadian coin….

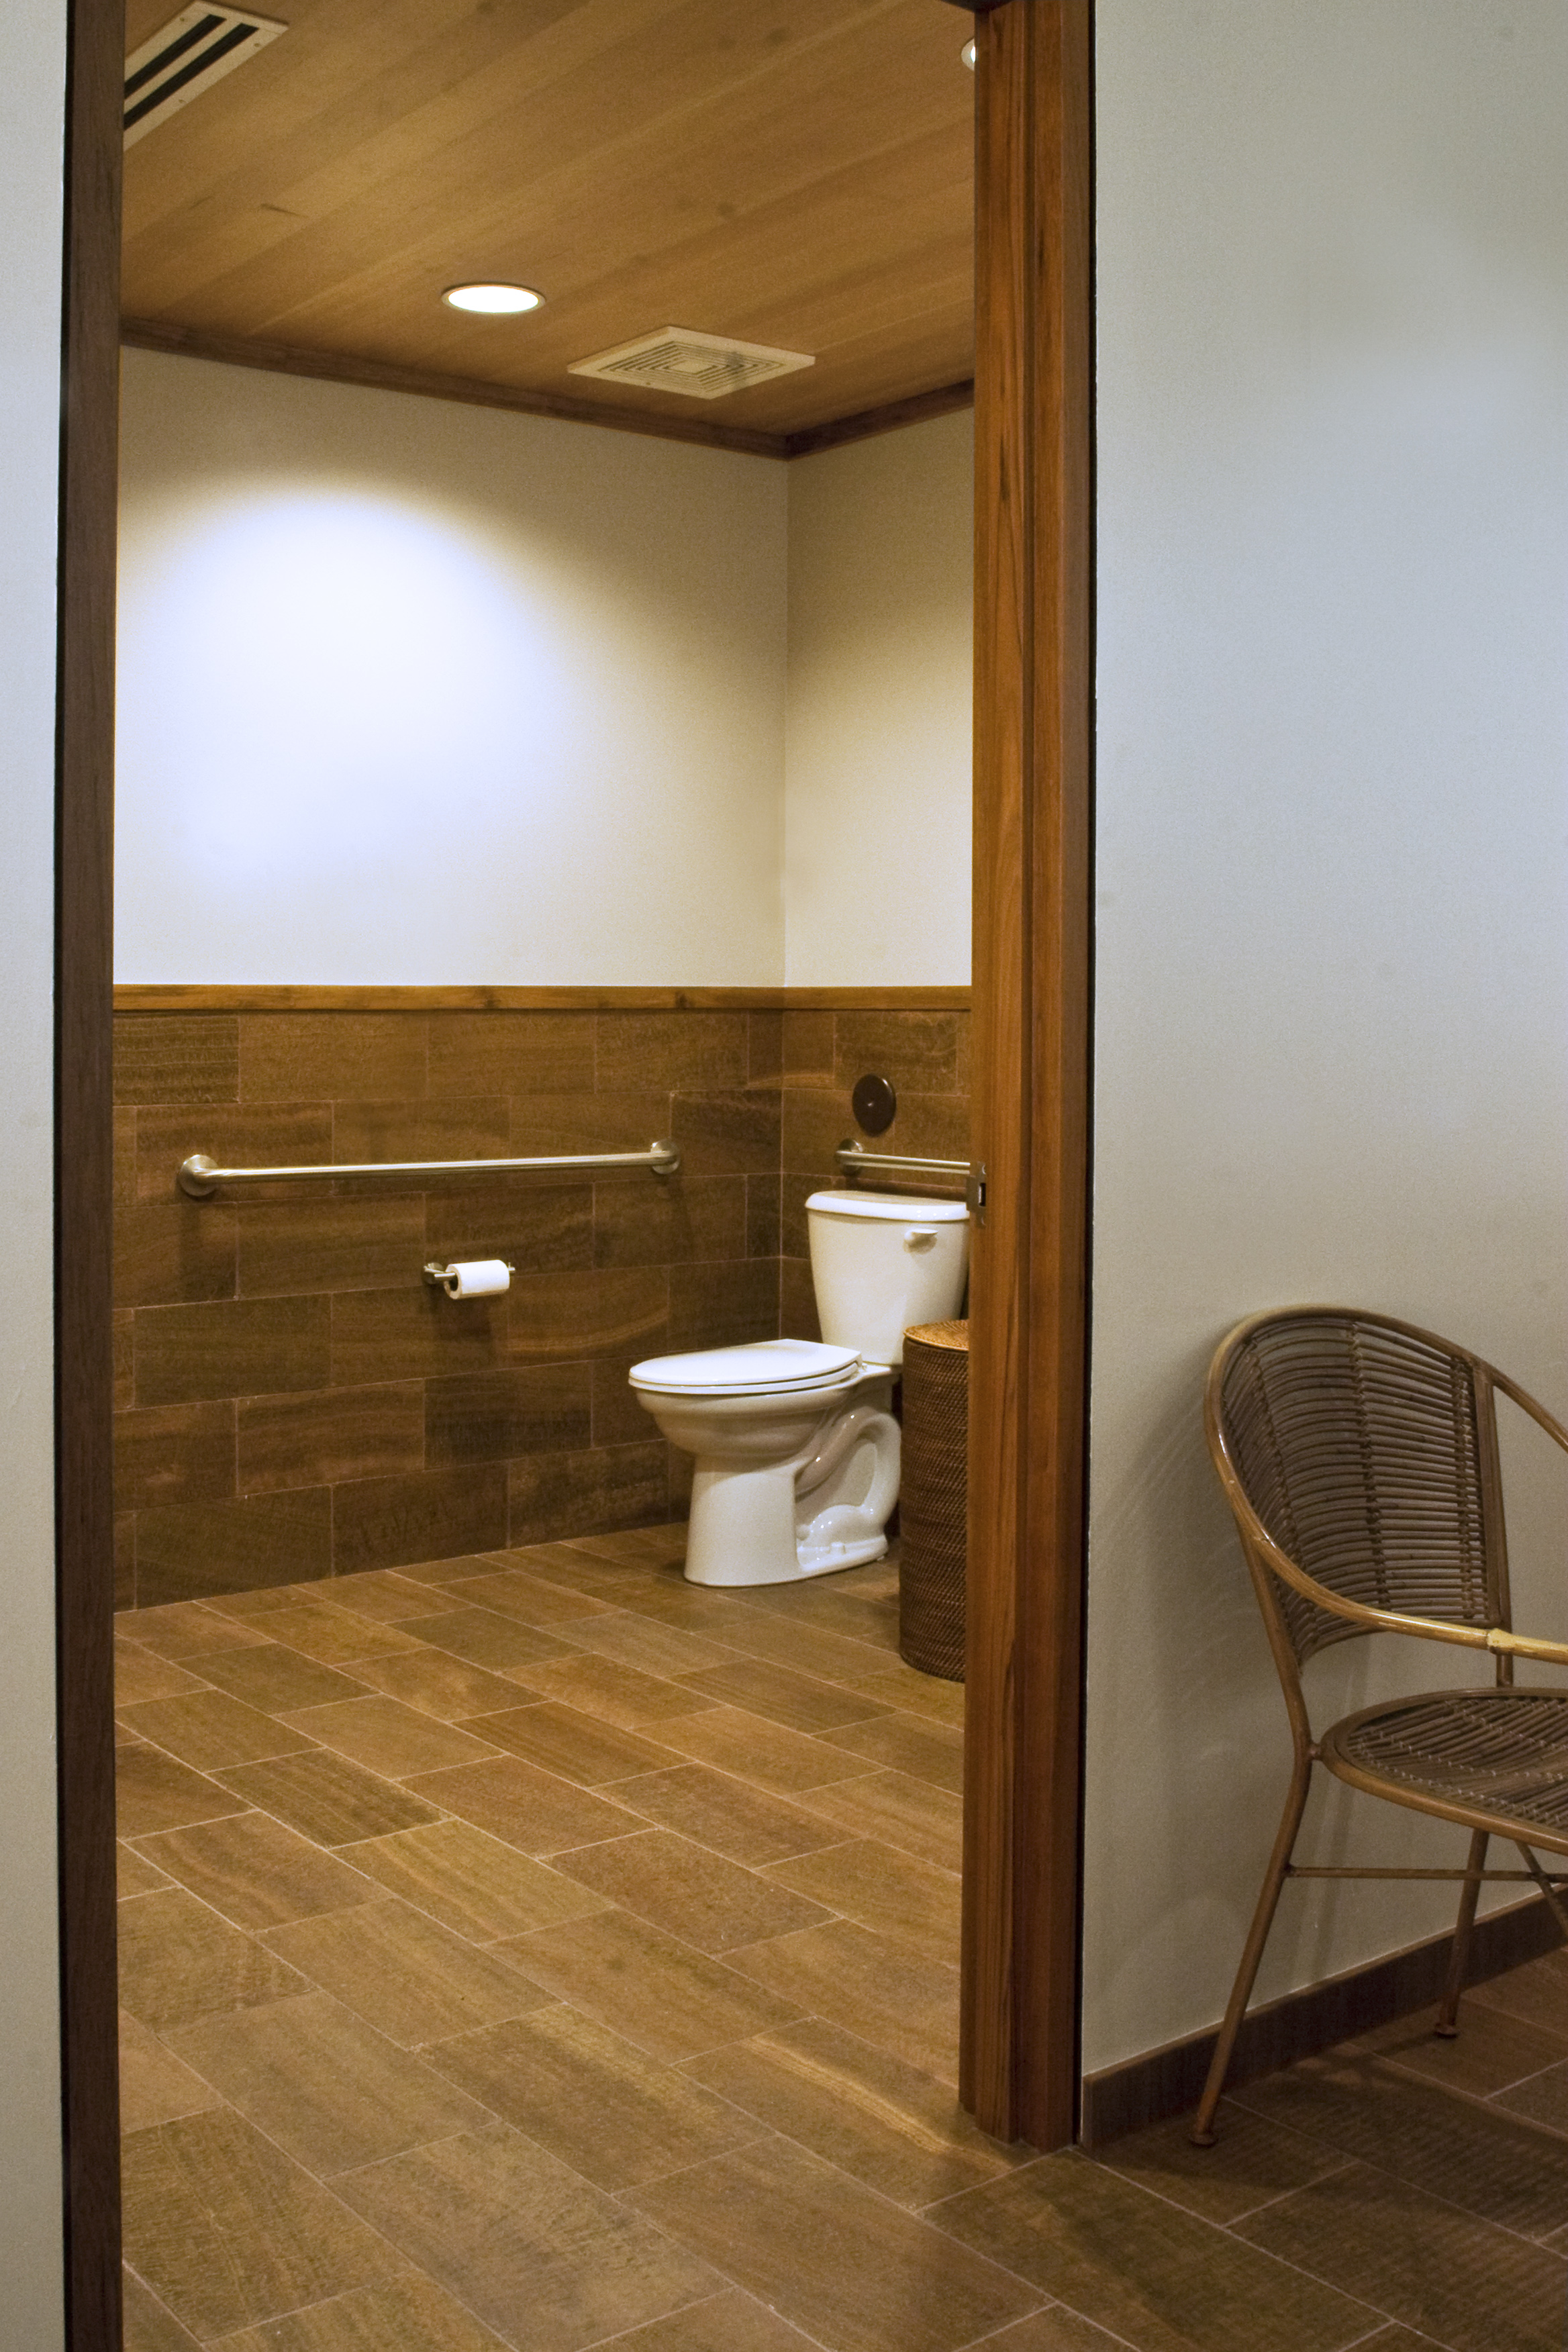
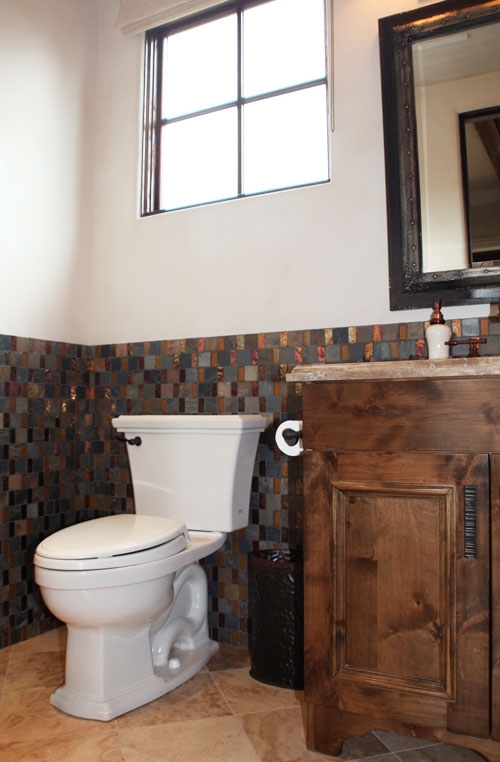
We recently installed copper pennies on the powder room floor of an ultra-hip man cave.
We’ve seen many do-it-yourself videos and some great advice – but to achieve professional results including a perfectly flat surface, even grout joints, and great adhesion, and no changes in elevation where the pennies meet other flooring, be prepared for a significant amount of preparation.
We began the project by sourcing trays to sheet the pennies (contact us if you would like to purchase trays), expediting installation time and producing an evenly spaced grout joint.
Each sheet covers just over one square foot. For this installation we randomly placed our pennies ‘heads or tails’.
A specially formulated water soluble adhesive and craft paper are used to to mount the sheets. And here’s a face-mounted sheet ready to go.
Because the pennies are thin, for a professional result the substrate needs to be perfectly flat, as any variation in the floor will show through in the surface reflection of the tile. We don’t want a bumpy floor. Also, to eliminate transitional floor height variation at the thresholds, our substrate needs to come to within 1/8″ of the existing floor height in 2 adjacent rooms. We float the entire floor with mortar to create our perfect finished floor height. This process requires proper tools, experience, and time – one day of preparation before we can start installing our pennies.
Specialized setting materials are required to adhere to the copper and stand up to wear and tear of foot traffic. We didn’t want to use resin because we wanted to allow the pennies to develop a patina, and didn’t want the surface to look like plastic. Also, the resin can develop air pockets over time and delaminate. To install, we selected a product from Custom Building Products called CEG lite – a 2 part epoxy thinset/grout. This product is relatively expensive with tight working time. The sheets are lofted to ensure good layout before mixing the two-part epoxy setting materials. Once layout was confirmed, we mixed out materials and I’ll be honest here – there are no photos because we had to work FAST!
Our installation received a final coat of grout after curing for several days, and the resulting installation is below:
—————————————————————————————–
With quite a bit of preparation, and some mad tile skills,
here’s the resulting beauty –
We love this vintage toilet – a handpainted antique
imported from France for this project.
Installation: Luke Denny and Amy Denny
Contact Us Here for more info about this project, or to purchase the penny trays shown in this post: $50.00 plus S&H. Sorry, No Returns


